“How can a nation be great its bread tastes like kleenex?”
Before the invention of the microscope, the action of microbes must have seemed as magic. As a farmer, I act based on the manipulation of conditions to advantage certain microbes, while disadvantaging others. Woody mulch lines the walkways between my growing beds to encourage mycorrhiza fungi, while armoring the soil from the suns rays, and the thirsty wind. Bacteria, nematodes, insects, and earthworms also take advantage of the mulchy conditions to work their magic. They turn lifeless sand into soil in a symbiotic dance with the plants I grow. This same sort manipulation of conditions I apply to making cheese, sauerkraut, salami, and bread. If one creates the perfect habitat for a given microbe, disadvantages competing opportunists, and inoculates the medium, these little guys will transform raw ingredients into amazing joy. Unlike mesophyllic cheese cultures and lactobacillus pickling cultures, yeast is a strongly competitive organism. Having ethanol as one of your waste products makes you undesirable as a neighbor to other invisible beings. Because of this, a healthy yeast culture is at almost no risk of contamination by food born pathogens.
Much lore surrounds sourdough starters. They become heirloom legacies, passed from grandparents to parents, to children. There is some wisdom in starting one of your own, populated with the wild yeast strains that drift in the air in your kitchen. I suspect that just as local raw honey can alleviate allergy symptoms, an indigenous sourdough culture can have a positive effect on the gut biome, but I can’t prove it. The things that a shared starter has over a new one are complexity and (more importantly) a story. Every time you make bread with that starter passed down, you think about the home that shared it with you. The relationship you develop with these beings you can see takes on an almost religious devotion. If you want to start a new tradition for your family, by all means start a new culture and be mesmerized by the little miracle that it is. A quick web search will tell you what little you need to know to pull this off. In time, even the starter you were gifted will take on its own character.
The routine of care and maintenance of a sourdough culture is like any other relationship. You will get to know what makes your starter happy as you become more familiar with it. If I don’t plan on making bread for a while, I store mine in a 2-quart mason jar, in the fridge. I feed it every four days or so. I pull it out, pour off about half of it (lest it become too sour), give it 2/3 of a cup of white flour, and ½ of a cup of water, and stir it with the handle of a wooden spoon. When I’m going to use it, I let it come to room temperature for a couple days, then feed it, again. As the yeasties break their fast and start gobbling up the starch in the wheat, they exhale carbon dioxide, and exude alcohol. These are only two of the many things that happen. Molecular changes happen, as well. The gluten proteins change, and soften. A bouquet of aromas and flavors bloom and fade. There is a point where it peaks. Large gas bubbles are visible, and it smells not unlike ripe bananas. This is the moment I bake. If I’m baking daily, I just feed it after every use, and leave it on the counter.

fed at dawn

peaking at 3:00

The initiating step for making bread with this glorious goo is called autolyse. I measure, by weight, 350 grams of organic white flour, and 150 grams of whole-wheat flour. To this, I add 400 grams of just barely warm water (better too cool, than hot enough to kill yeast).

I mix this with a spoon until just combined, and no dry flour remains at the bottom of the bowl.

I cover this with a tea towel, and let it sit for about half an hour. Just like feeding millet to pigs, if you don’t soak it first, its going to come out whole. This rehydration period makes the wheat far easier for the yeast to consume.

Once everything is rehydrated, I add 2 teaspoons of sea salt, and good bit of starter. I squeeze and fold this mass with a wet hand until it feels homogeneous. Once it seems well blended, I let it sit for another half hour.

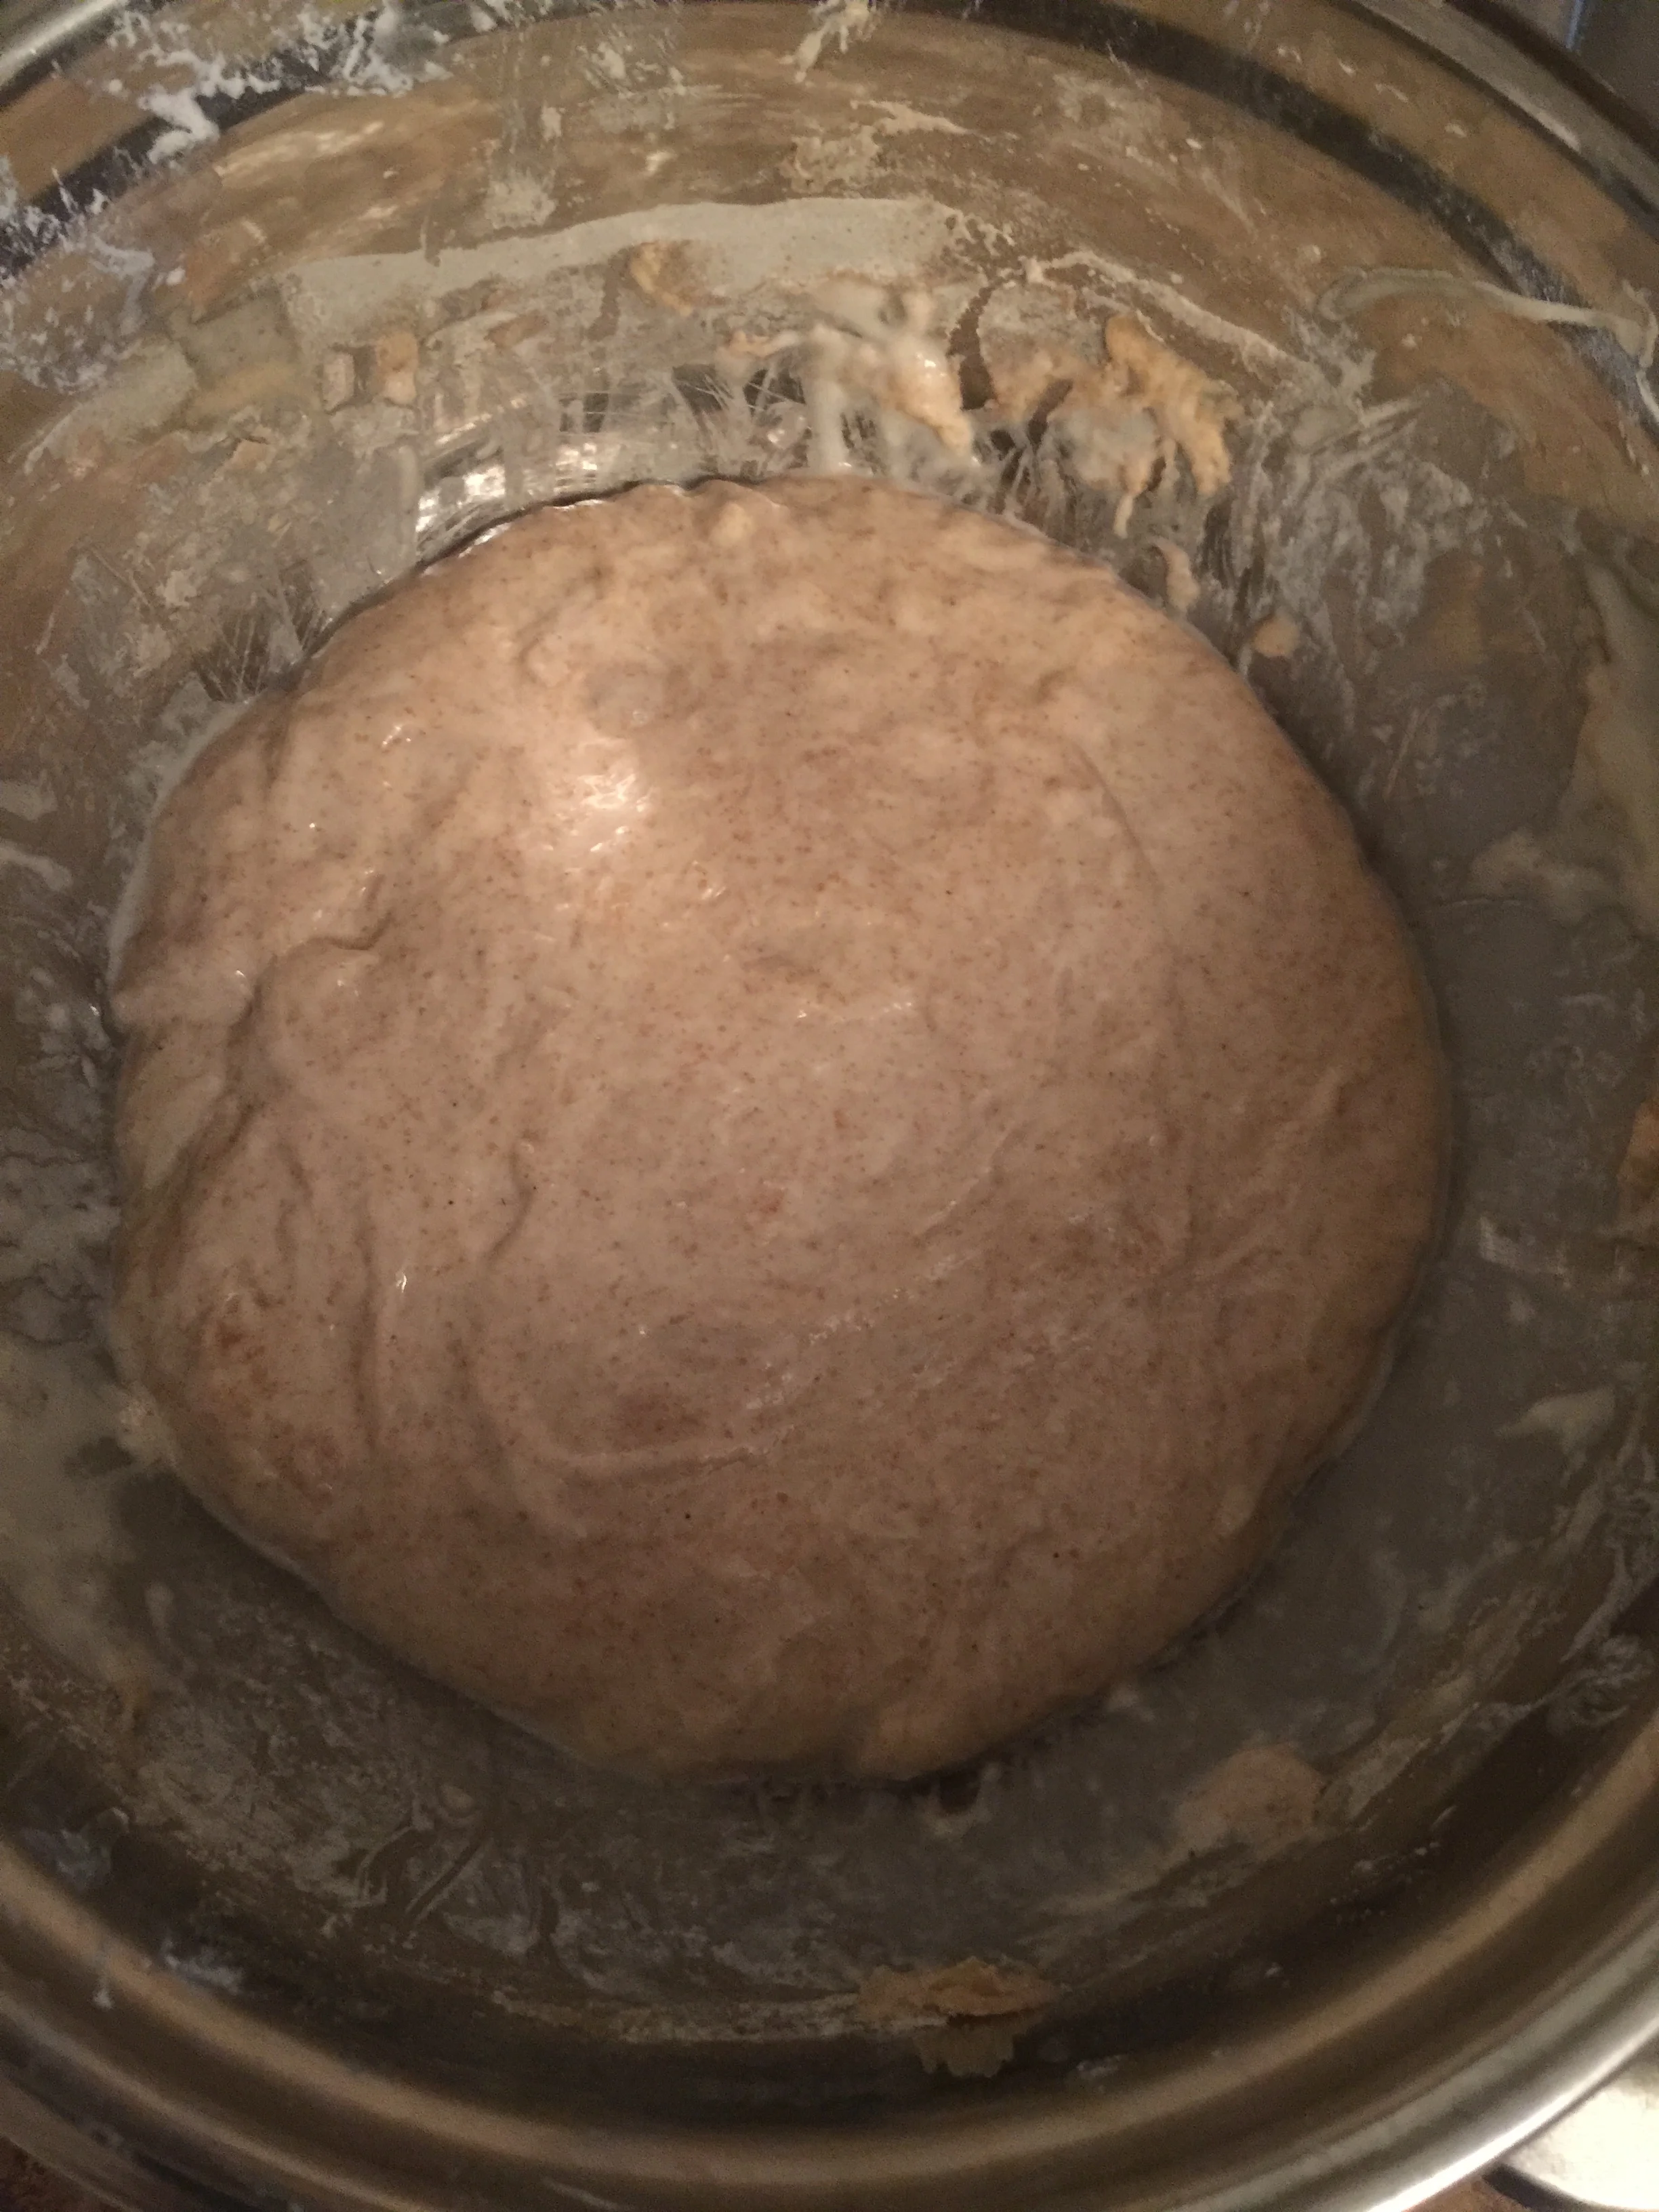
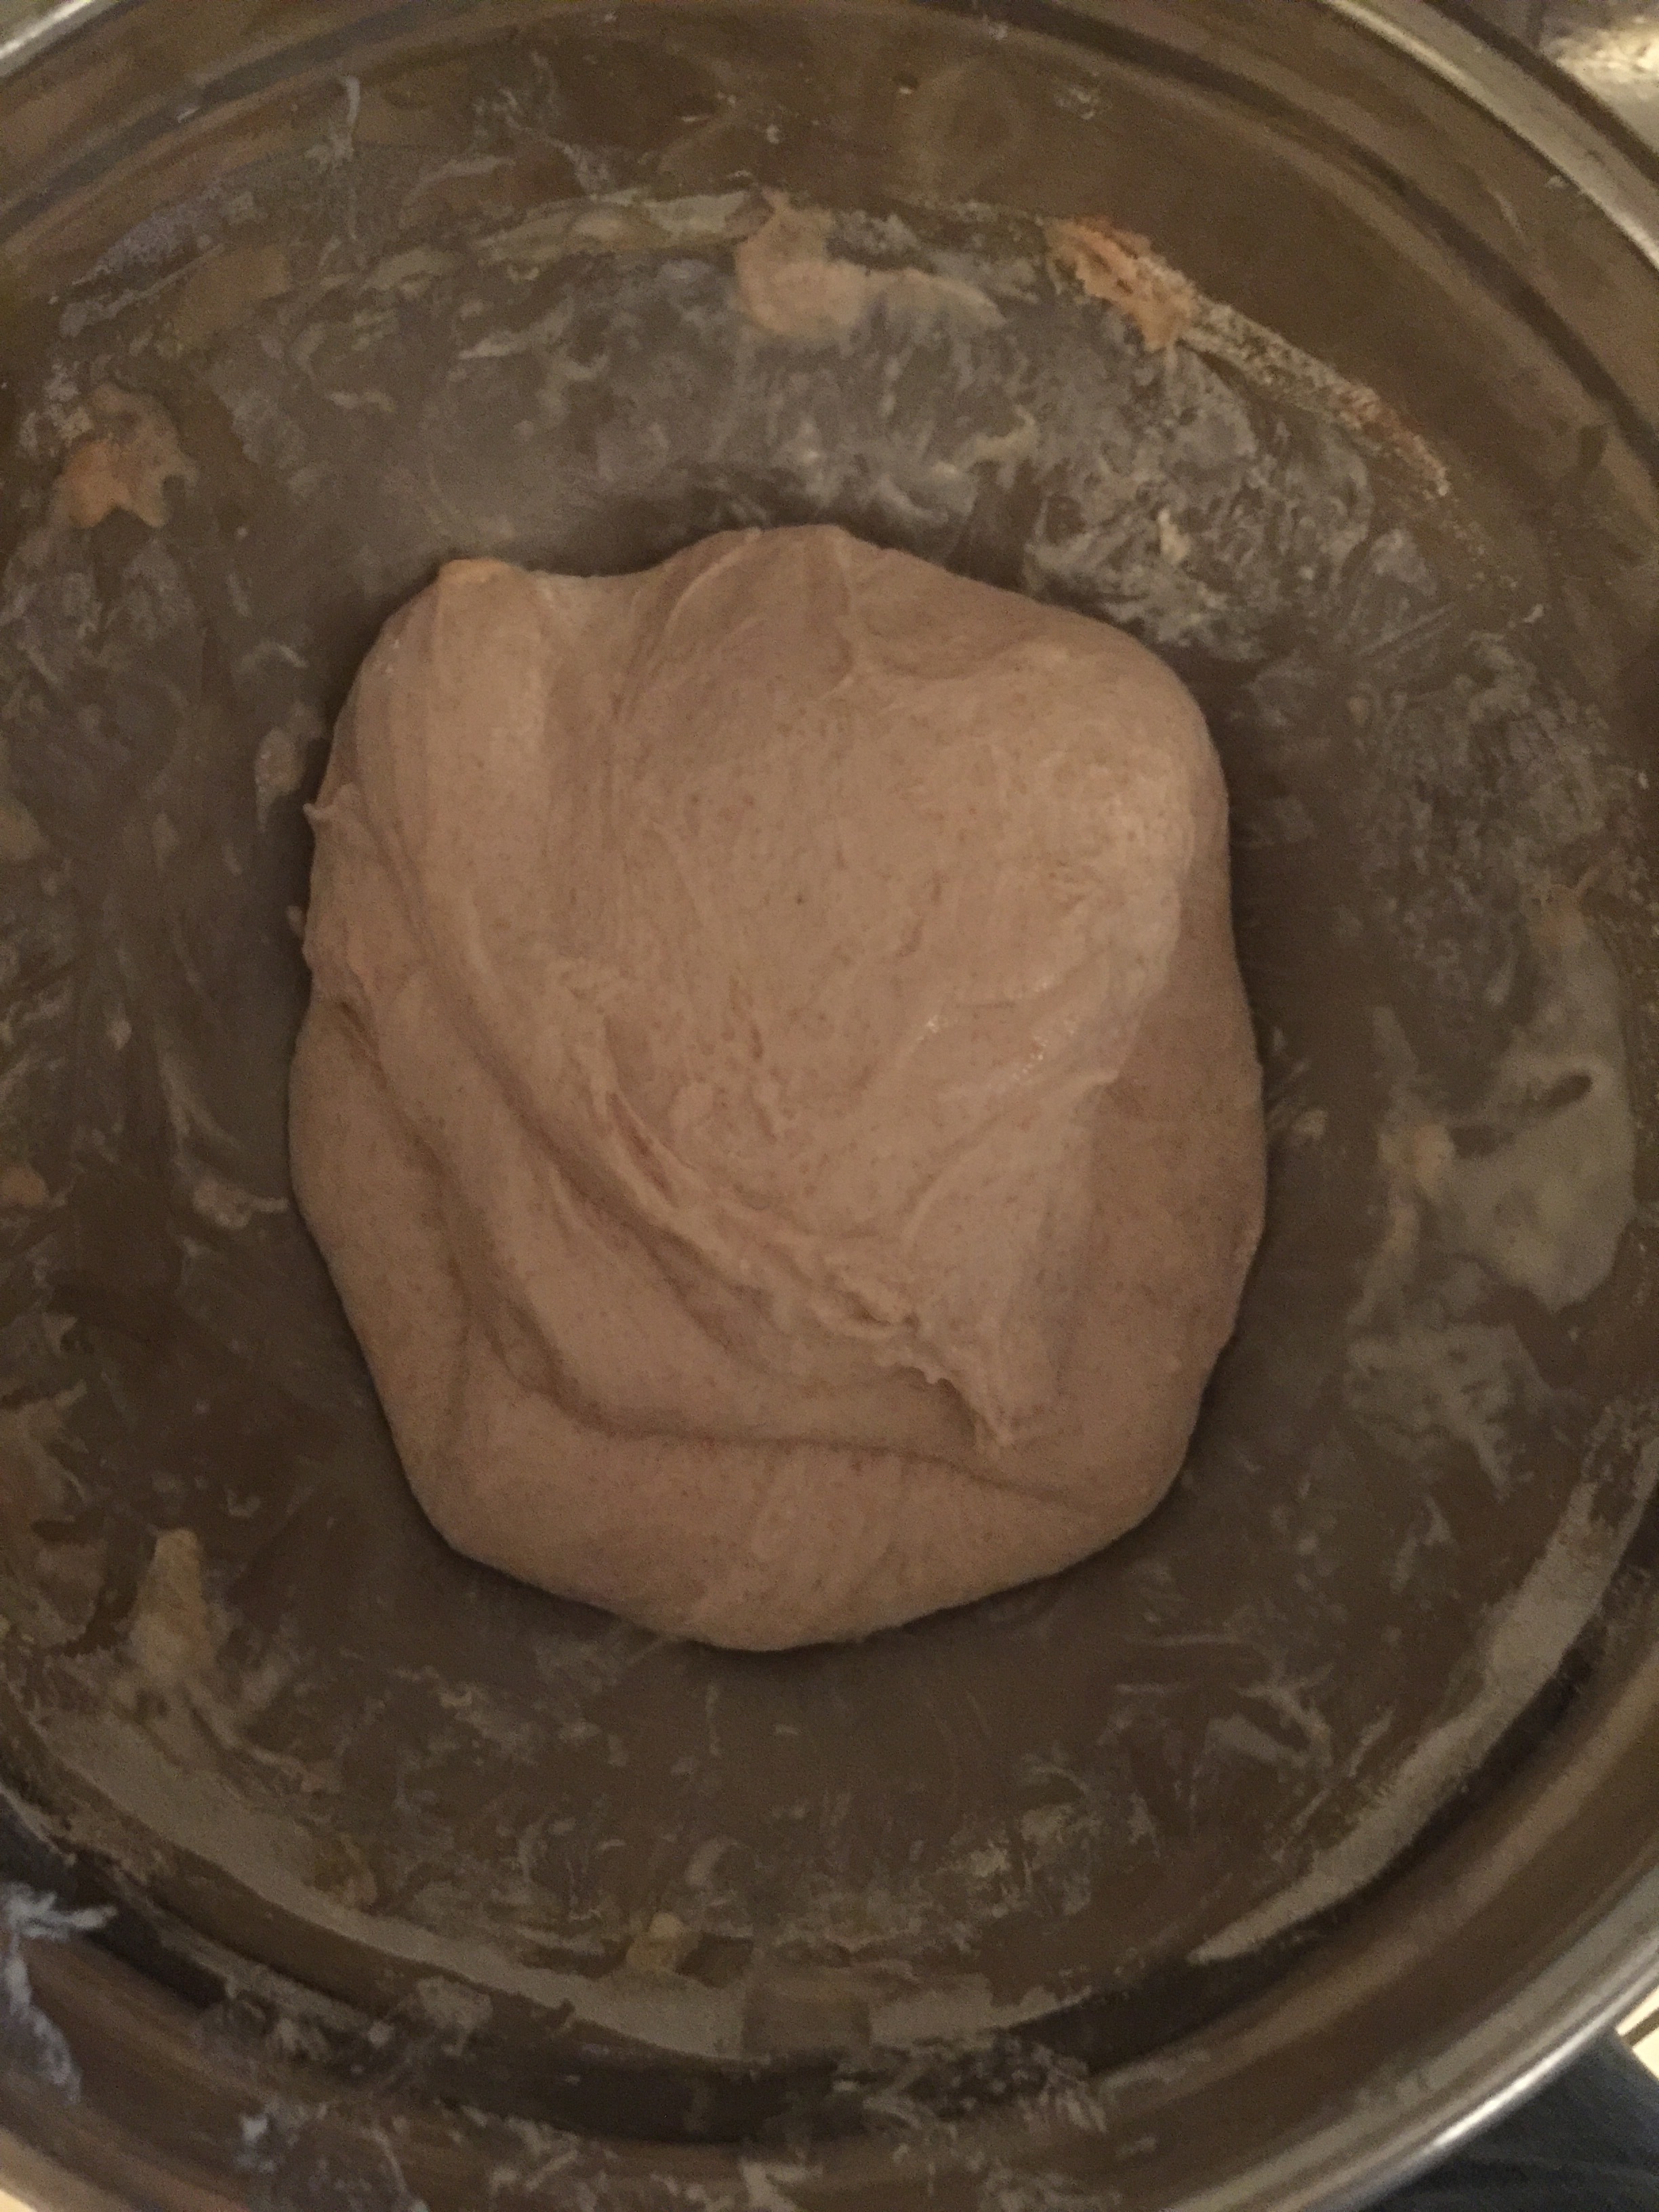
Here is where I diverge from most sourdough bakers. If you watch a bunch of YouTube videos on making sourdough, you will see that most people use some form of slap and fold method for kneading this high hydration dough. It’s a mess because I’m not good at it. The Keris Artisan channel offers an alternate technique of reaching under the dough, pulling it to a point of resistance, folding it, and repeating. That’s my jam. I do this three times, letting it rest for a half hour between each manipulation.
At this point, I lightly flour the counter, and sprinkle flour around the edge of the dough in the bowl. I scoop it out, trying to disrupt its shape as little as I can. I give it a couple quick folds and then gently drag the ball toward me across the counter, until it starts to resist. I’m looking for a slight tension on the surface, without damaging the gluten strands. I rupture any large bubbles, at this point. Once stretched, I flour the surface.
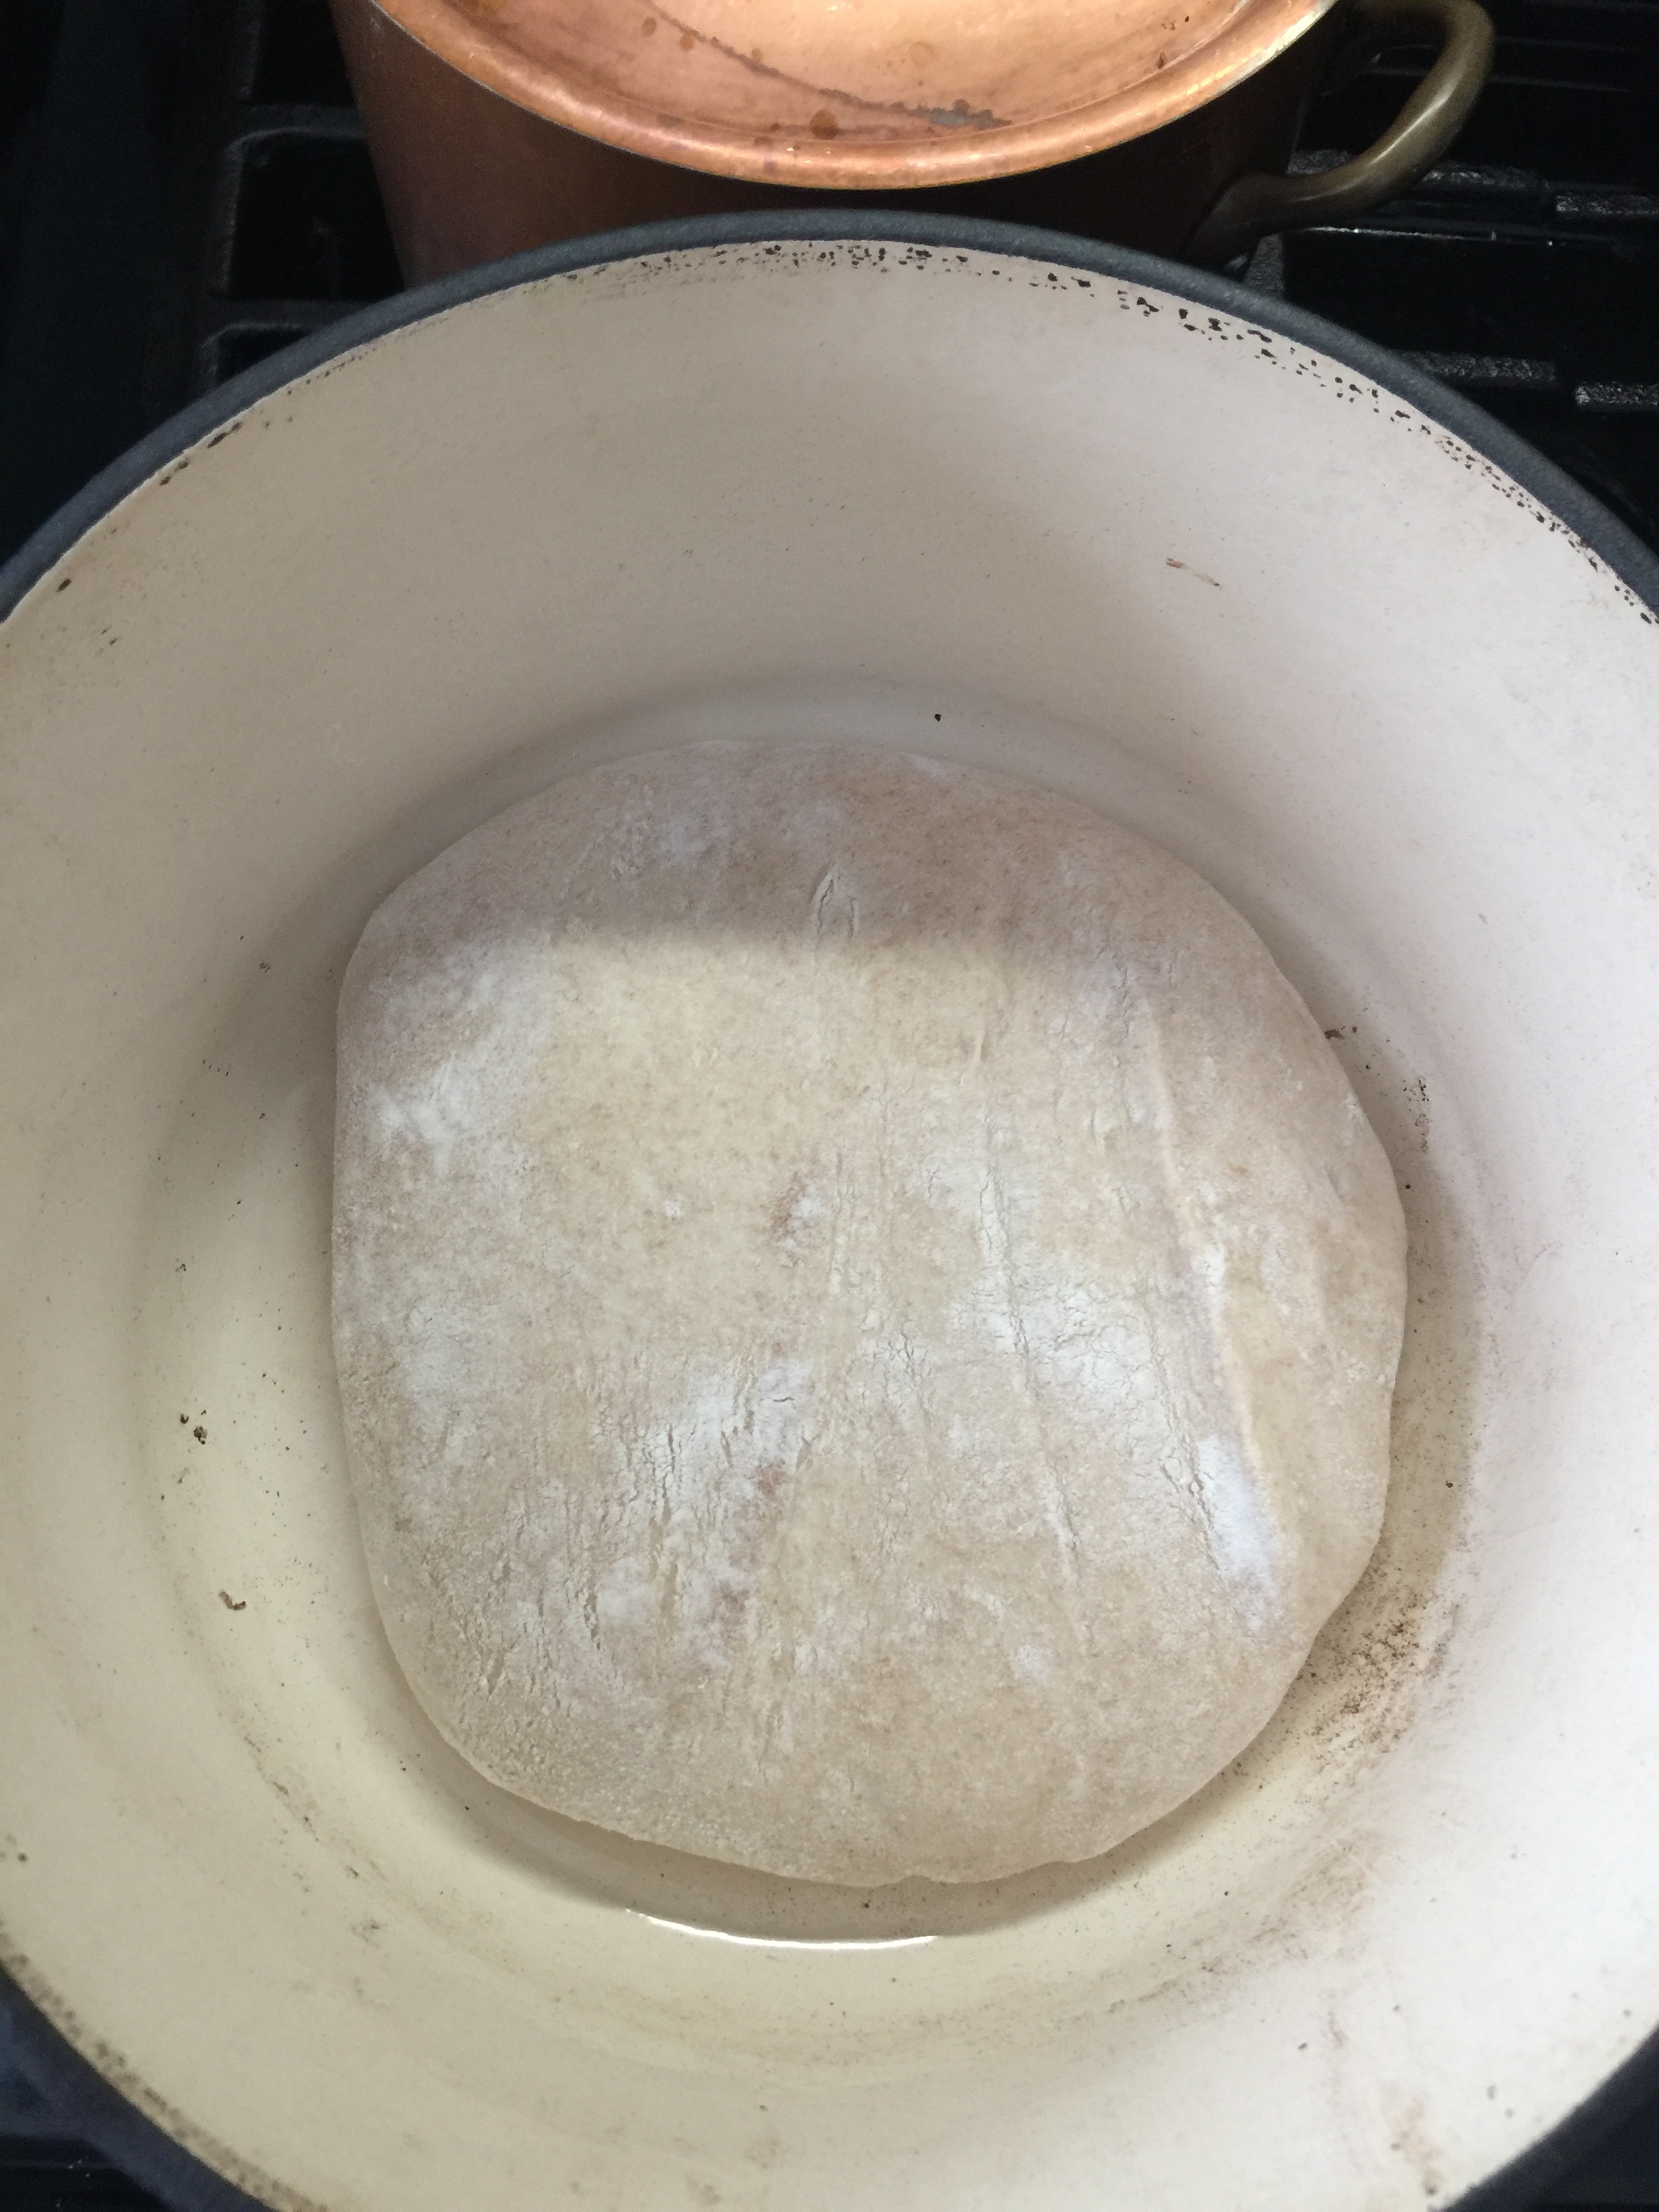
Now it is time for the long proof. I line a clean bowl with my tea towel and liberally dust it with flour. I turn the dough into the bowl, seam side up. I dust the edge with flour, and sprinkle the top. I fold the towel over it to prevent drying, and place it in the refrigerator overnight.


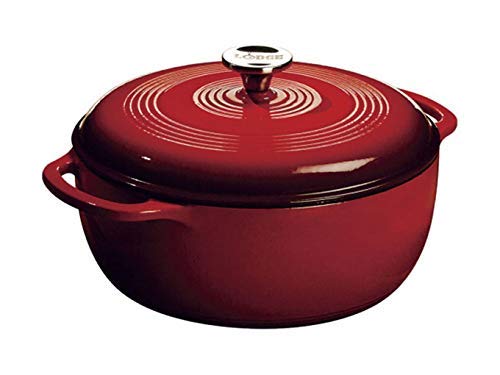
In the morning, I pull it out of the fridge to warm up, a bit. The loaf is larger, firmer, and has a nice spring to it when gently pressed with a fingertip. I have coffee, let the dogs out, and read the news. After an hour or so, I turn on the oven to 475F. I put a Dutch oven in there, with the lid on. Once the oven comes up to temperature, I wait another half hour for the cast iron to heat completely.
Now is the big moment… I turn the bread gently from the tea towel onto my palm, then ease it into the Dutch oven, with the seam side up, yet again. I return the lid, and bake it for 25 minutes at 475F.
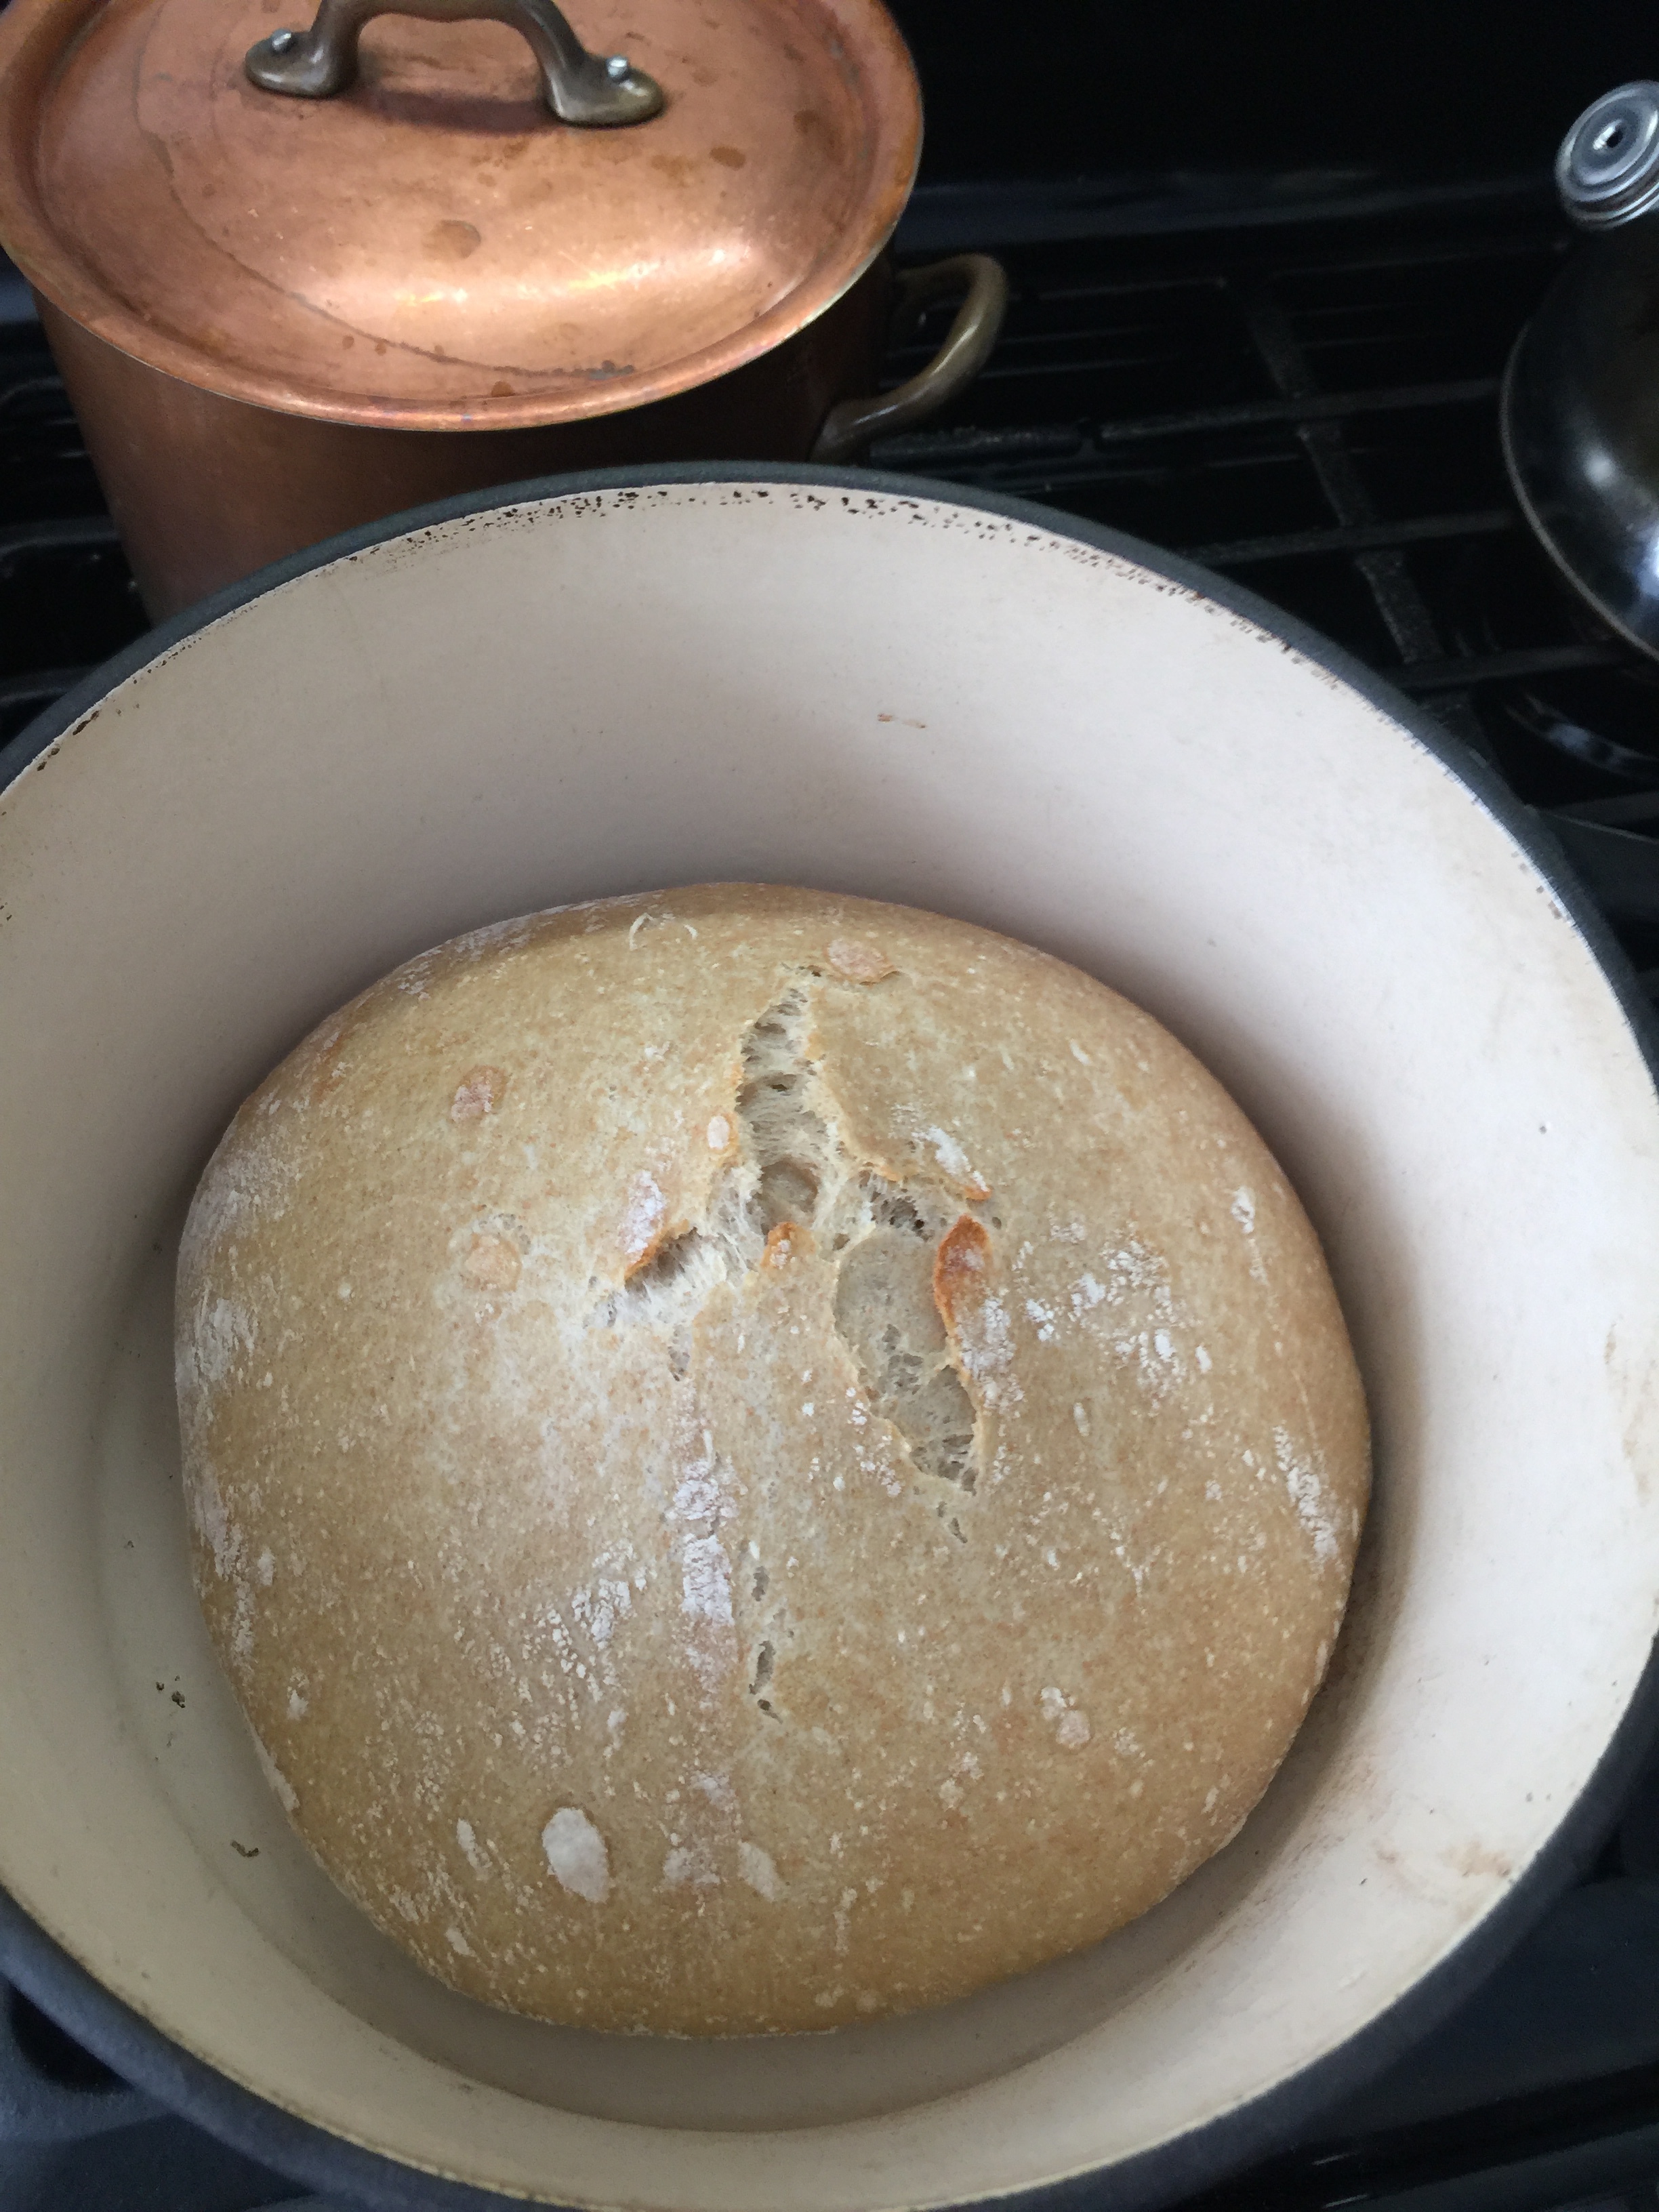
After 25 minutes, I remove the lid, drop the temperature to 400F, and let it go another 30 minutes. I play with these times and temperatures, from time to time. There are so many variables to making this bread, and the adjustment of them to your conditions and preferences is what gives your loaf its own personality and character.

The hardest part begins now. Place the finished loaf on a wire rack, and wait. The bread is not done cooking. A firm crust has trapped steam within, and magic is happening in there. Do not squeeze, pick, poke, or lick the bread while it cools. Two hours is the soonest you can cut into it without compromising the quality, shelf-life, and poetry of your now 28 hour effort.

Store this bread naked, until cut. Unused portions will keep for days lightly wrapped in a tea towel or bag. As the hydration level drops, higher uses of this sourdough become more appropriate. It is great toasted for about three days. On the fourth day, it makes amazing French toast. After that, it can me turned into croutons, thinly sliced and slowly toasted into crostini, dried and ground for bread crumbs, or turned into bacon and eggs by feeding it to your critters!
I am a total novice in the land of sourdough, but am having a delightful time getting to know its secrets and subtle personality. If you have any thoughts on making sourdough, hints for myself and your fellow readers, or questions, leave a comment below. Let’s learn together!
On the next post: the next best thing! There is a dead simple rustic loaf that I have used for years. It requires no kneading, no folding, and only about 12 hours to pull off. Total work time? A little over a minute;)…
***Update:
Since the original publication of this post, I have made some adjustments to my sourdough style. Here is the video from my YouTube channel detailing my streamlined approach!…
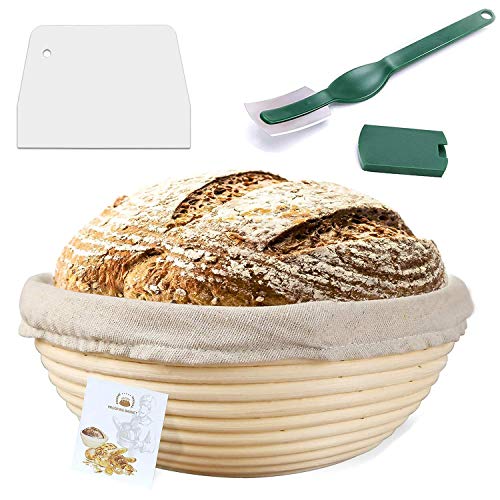
The products below are Amazon Affiliate links. If you buy through them, I receive a small commission with no added cost to you.