“If you don’t like peas, it is probably because you have not had them fresh. It is the difference between reading a great book and reading the summary, on the back.”
Winter, in plains country, is a test. The open prairie grants the wind free passage. As it rushes through, the wind takes with her the water, and the heat of the sun. It’s dry, but it’s a cold dry. In her wake she leaves every goat’s head thorn, tumbleweed, and prickly poppy seed from three counties. Come February, the cabin fever can become smothering. It’s unpleasant to be outside all but about one day in three weeks. Out here, a greenhouse is an opulent luxury item.
In our first year on the farm, I converted a fastened heap of 2x4’s and clear poly roofing into a greenhouse with $25 with of 4 mil painter’s plastic, and a staple gun. It looked like a train wreck, and the ceiling was too low for my height, but it was 120F at 9:00 a.m. in the first week of February. I planted brassica species that would not only geminate in cold soil, but would tolerate the inevitable 30F nights. We had spinach, radishes, arugula, purple kale, and Swiss chard in early March. Through the summer, buckets of tomatoes, greens, cucumbers, and beets came out of that “greenhouse”. The fierce sun had its way with the painter’s plastic, and the woefully inadequate framing job supporting the roof provided no security to the aging poly roofing. Strong gusts tore great chunks of it free and tossed them against sheds and fences. By autumn, “greenhouse” was no longer an appropriate description of the space.
The other week, on one of those rare days with inviting weather, I tore everything apart, piling the materials categorically. I built one cold frame from the scrap and should have materials for three or four more. The resulting growing space should be close to what I had before, and will be much more durable. We are getting higher temperatures now, and I may sow spinach and arugula, this week. Hopefully, I can jam the construction of a thermal-banking, grow bananas in Colorado, ligit greenhouse this summer.
In the mean time, inspired by the good folks over at Brush Creek Microgreens in Aspen, I have sown a crop of garden peas in our laundry room. I’ve been following the explosion of microgreens, and have researched the subject. I have done some sprouting and have even grown a few flats of sunflower shoots for household use and livestock fodder. This was my first time trying peas, however. As the harvest is now coming in, two weeks later, I’m going to declare this experiment a success! As with everything in farming, refinement of technique improves yield, and I have some thoughts on how to get more out of my next planting. I will describe my intended changes in the body of this report on my first “go ‘round”.


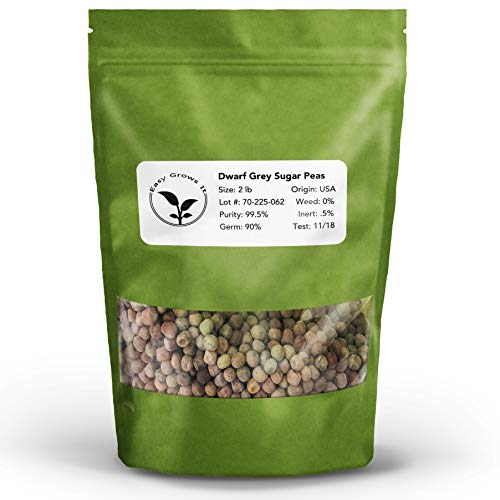
First, I soaked 2 cups of dry peas in 4 cups of water, for 24 hours. The peas I bought from my local health food store, in a two-pound bag. Bulk bins are also great places to find not only seed for microgreens, but also seeds for poly cover crop blends. Often, ordering seeds for planting means paying $3 for a “packet”. That ends up being around 20 seeds, in the case of peas. I paid about $4 for my two-pound bag, and there are thousands of seeds. My germination rate was nearly 100%. This is a good way to buy everything from buckwheat, oats, and rye to flax, chia, and cilantro. Sunflower seeds can occasionally be had for $8/50#, from a feed store. I wouldn’t sell the shoots from feed grade black oil seed, but I’d sure eat ‘em!
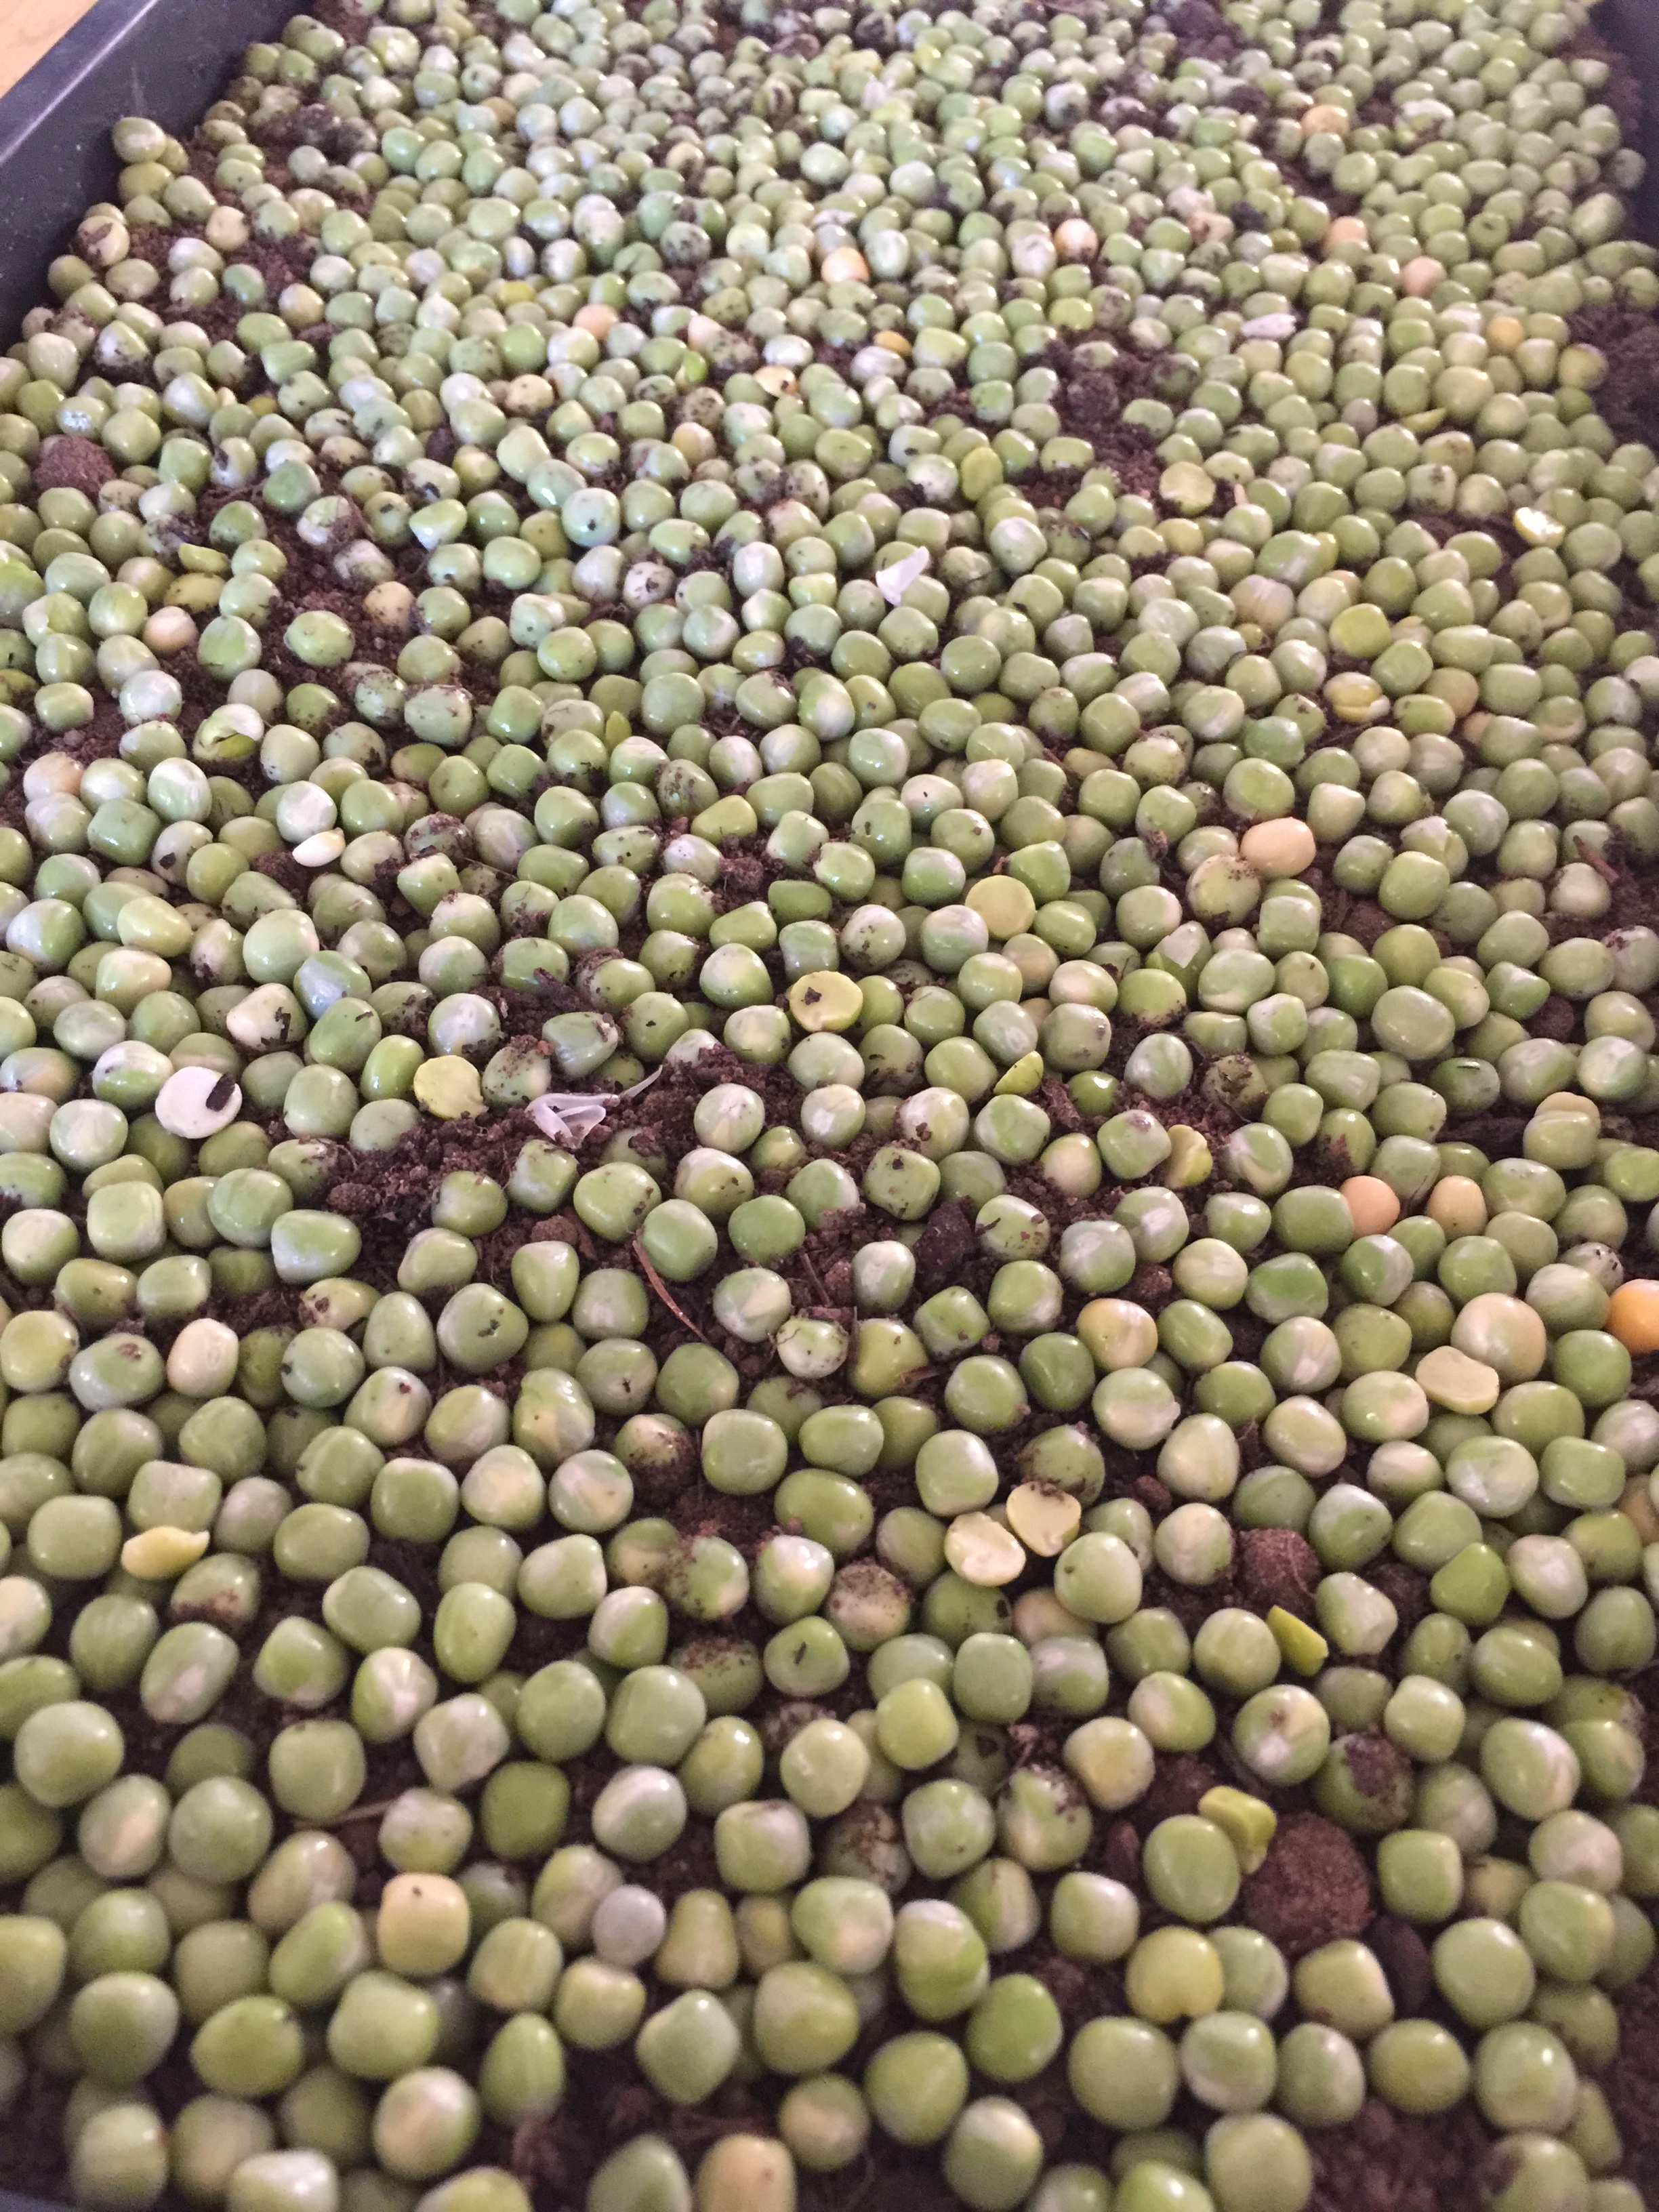

I chiseled some frozen soil out of the raised beds in the dead greenhouse, and let it thaw, while my peas soaked. Once the peas doubled in size, I spread them, shoulder to shoulder, on the soil. I watered them in and covered them with damp paper towel.


The next day, they began to sprout. After the second day on soil, I removed the paper towel. This was premature, and didn’t allow the tender rootlets that had sprouted skyward time to make soil contact. I had some losses (maybe 25%), and retarded the timing of another 25%. All is well, as this crop is for daily home use, and not for market. The staggered maturation is actually better for daily harvest of a couple handfuls. In the future, I will do one of three things to fix the failure rate: 1) leave the paper towel on for four days, 2) use a grow dome, instead, or 3) sprinkle coconut coir over the seeds to hold moisture.
As I had started with well-hydrated soil, at planting, a simple spray bottle misting was all that was needed to water the shoots. I sprayed them down a couple of times a day, checking soil moisture, daily. If it seemed dry, I would directly water. I grew them in a sunny, south-facing window. Grow lights work well, too, once leaves start to appear.


In about two weeks, three inch shoots have grown. This morning, I harvested a couple cups, and more have grown up to replace them. Cut plants may yield multiple harvests. I trimmed then above the primary leaves, in hopes that a new shoot will form.
It’s hard to place a value on fresh greens halfway between first frost and last. At the end of the growing season, the profundity of leafy greens vomiting forth from the garden makes me long for biscuits, mashed potatoes, and winter squash. After a few months of that, however, my body hungers for something with chlorophyll! It’s super handy to have green things growing in the kitchen, too. That plant is actively alive when the fork lifts it to the lip, and that has a value not found in food you buy. This micro green approach can be used in as little as a square foot in a windowsill. I highly recommend trying this out. If you have kids, they’ll love it, might eat something green, and get to watch the germination and growth stages of plants. Try using amaranth, mustard, and arugula, too!
The products below are Amazon Affiliate links. If you buy through them, I receive a small commission with no added cost to you.